Electronics Production

------------------------------------------------------------------------------------------------------------------
The goal of this week is to learn how to cut out a electronics board using a milling machine and then solder all the necessary components onto the board.
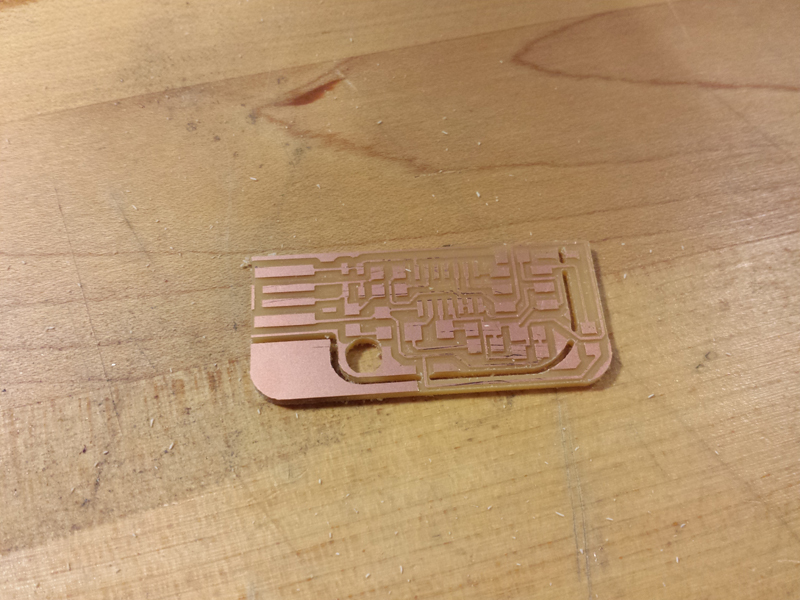
I imported Valentin's board image into the Fab Module and used a 1/64 bit to cut the board traces.

At first during the calibration, when I pressed "move to xmin,ymin", the drill wasn't able to move. I later figured out that the Modela machine that I was using should be at "dev/ttyS0 9600" while the command of the fab module was pointing to "dev/ttyUSB1 9600" by default. I therefore modified the command line to be "mod_serial.py /dev/ttyS0 9600". Then it worked!
After Calibration, I sent the path to start drilling.

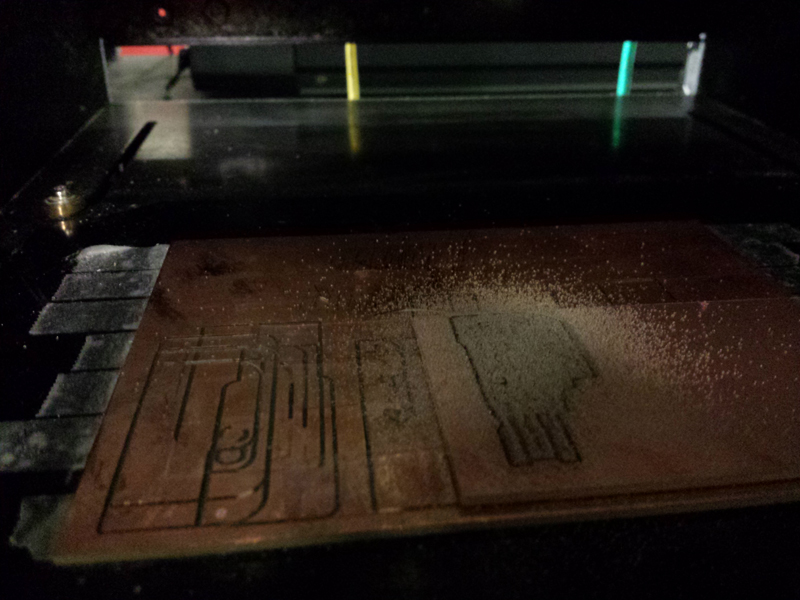
After that I used a 1/32 bit to cut the outline of the board.

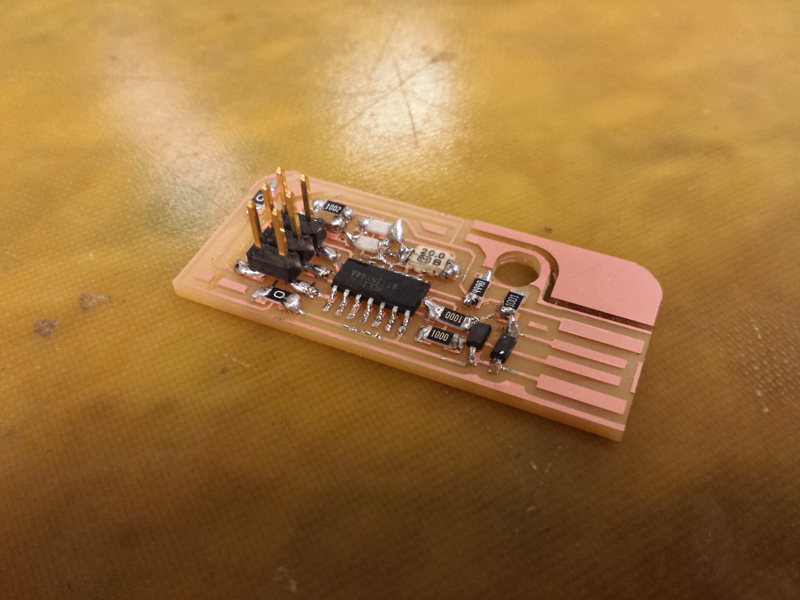
After the board is ready I started to gather all the components that would be soldered. It took me some time to collect them all because initially I wasn't so famaliar with the 3/4 digit code on the resistor which indicates the value of the resistance.
-----------------------------------------------------------------
In case you don't have any knowledge in this like me:
The 3-digit code
The first two numbers will indicate the significant digits, and the third will be the multiplier
e.g: 102 = 10 × 100 = 1kΩ
The 4-digit code
The first three numbers will tell us the significant digits, and the fourth will be the multiplier
e.g. 4900 = 490 × 1 = 490Ω
-----------------------------------------------------------------
Learning from last year's students' experience, I wrote down the names of components on paper and stuck the components next to their names. This helps to make things organised.

Then soldering began! The way how I did this is:
1. Apply the flux to the positions on board which would be soldered
2. Use tweezer to put the component in place
3. While still holding the component in place with tweezer, use the other hand to solder
4. Rotate the board and solder the other side of the component
5. Done!